

4 VSCO Editing Tips to Help You Stand Out on Instagram
Mobile photography is on the rise. That means it's getting harder to stand out... unless you use these advanced VSCO tips to elevate your photos.
The iPhone (and many Android) cameras can capture a fantastic amount of dynamic range and image quality. The raw image files on your phone give you tons of latitude when it comes to adjusting exposure, colors, and contrast – but that 'straight out of camera' leaves something to be desired.
Film photographs have the benefit of baked-in color profiles that globally shift the hues – magentas, greens, yellows, and teals – and give images a definitive 'look'. Because digital photographs are a computer sensor's approximation of real-life color, they can sometimes come across as sterile or boring. Just like the masters did in the darkroom, stylizing the color palette and exposure values is just another part of the creative expression of photography.
VSCO is an amazing tool for iPhone photo editing, but if you're only slapping on a vintage-looking preset and calling it a day, you're going to look boring, dated, and identical to a thousand other Instagram accounts.
The VSCO tips in this article will help you refine your Instagram feed and tell a consistent story with your photography – no matter what you're shooting.
VSCO Editing Tip #1: Tell the Same Story with Composition, Color, and Exposure
This is "Tip #1" not because it's the most clever or technical VSCO hack. It's the first one to learn because proper understanding of it can elevate your editing more than any filter or adjustment.
Before bringing your photo in to VSCO, take a close look at the specific elements of the photo like tone, saturation, brightness, contrast, and sharpness. Your photo likely doesn't look exactly how you intended straight out of camera, but how close is it to what you had in mind – and what's preventing it from properly communicating your creative vision?
While VSCO can help you edit your photo, only you can answer that question.
In photography, 'mood' is conveyed through three key elements: composition, color, and exposure.
It's important to nail composition in camera (although VSCO's cropping, rotating, and perspective tools can help improve a close-to-perfect shot – more on that later). A crowded, up-close composition can make the viewer feel busy, panicked, or cozy. A photo with spread out elements a vast horizon can feel peaceful, adventurous or lonely.


Take the above example: a woman hurrying down an alley in Paris during a snow storm. One edit has brighter exposure, muted contrast, and cooler temperature. The other has a darker exposure, stronger contrast, and warmer temperature. Which edit do you prefer?
Most people will prefer the cooler, brighter edit to complement the mood of being caught outside in a blizzard. A dark, warm edit might look wonderful on a cozy early-morning indoor portrait or even a shot of the beach, but it looks quite garish for this scene.
See how composition, exposure, and color can convey lots of different things on their own, but work together to tell a stronger story?
To properly express the mood of the photo, you have to supplement your composition with color and exposure that supports the narrative. The more you reinforce your mood using all three parts elements, the more clear it will be to the viewer.
If you're new to this kind of theory, here are some very general guidelines to get you started:
Brighter values = airy, clean, energy
Darker values = richness, strength, stability
Cool colors = purity, sadness, mystery, sterility
Warm colors = happiness, sunlight, intimacy, heat
High contrast tones = action, drama, aggression, strength
Low contrast tones = relaxation, vintage, hazy, natural
Once you have these basics down, you can build it in to your editing process. Create a checklist of the image before you adjust a single slider. Pull up your photo and ask yourself the following:
What mood am I trying to convey?
What colors need to be enhanced to convey that mood?
What colors need to be minimized to convey that mood?
What parts of my image are too bright to convey that mood?
What parts of my image are too dark to convey that mood?
Does my image need more contrast or less to convey that mood?
This method may sound a little arduous, but I challenge you to give it a try. You're likely to see an instant improvement in your edit and get to a strong end result significantly faster.
Keeping things organized and thinking 'mood first' is extremely important. It's true that experimentation and 'playing with buttons' can yield great results and inspire you, but that happens with much less consistency.
The more you pre-visualize and think in terms of composition + color + exposure, the better your control over VSCO, and your ability to create a mood with your photos, will be.
VSCO Editing Tip #2: Skin Tone Slider
In portrait photography, skin tone is considered the holy grail. No matter how creative or abstract you push your color palette or exposure values, it's almost mandatory to preserve realistic those yellow, pink, and brown tones – otherwise you'll end up with a muddy, sickly looking Frankenstein of a subject.
Don't believe me? Just take a quick scroll through your favorite Instagrammers portrait shots and you'll notice preserved skin tones even in the strongest colored shots.
Unfortunately, many VSCO filters – and other custom adjustments within the app – can obliterate natural skin tones. While designated portrait filters like the G series are careful to preserve these tones, just as many aren't.
VSCO built the Skin Tone slider control as a way to smooth and preserve skin tones, correct color casts, and push back against destructive filters. Algorithmically targeting a range of color values found in human skin, you can move the slider to slightly condense the spectrum and shift the range to magenta or to gold.
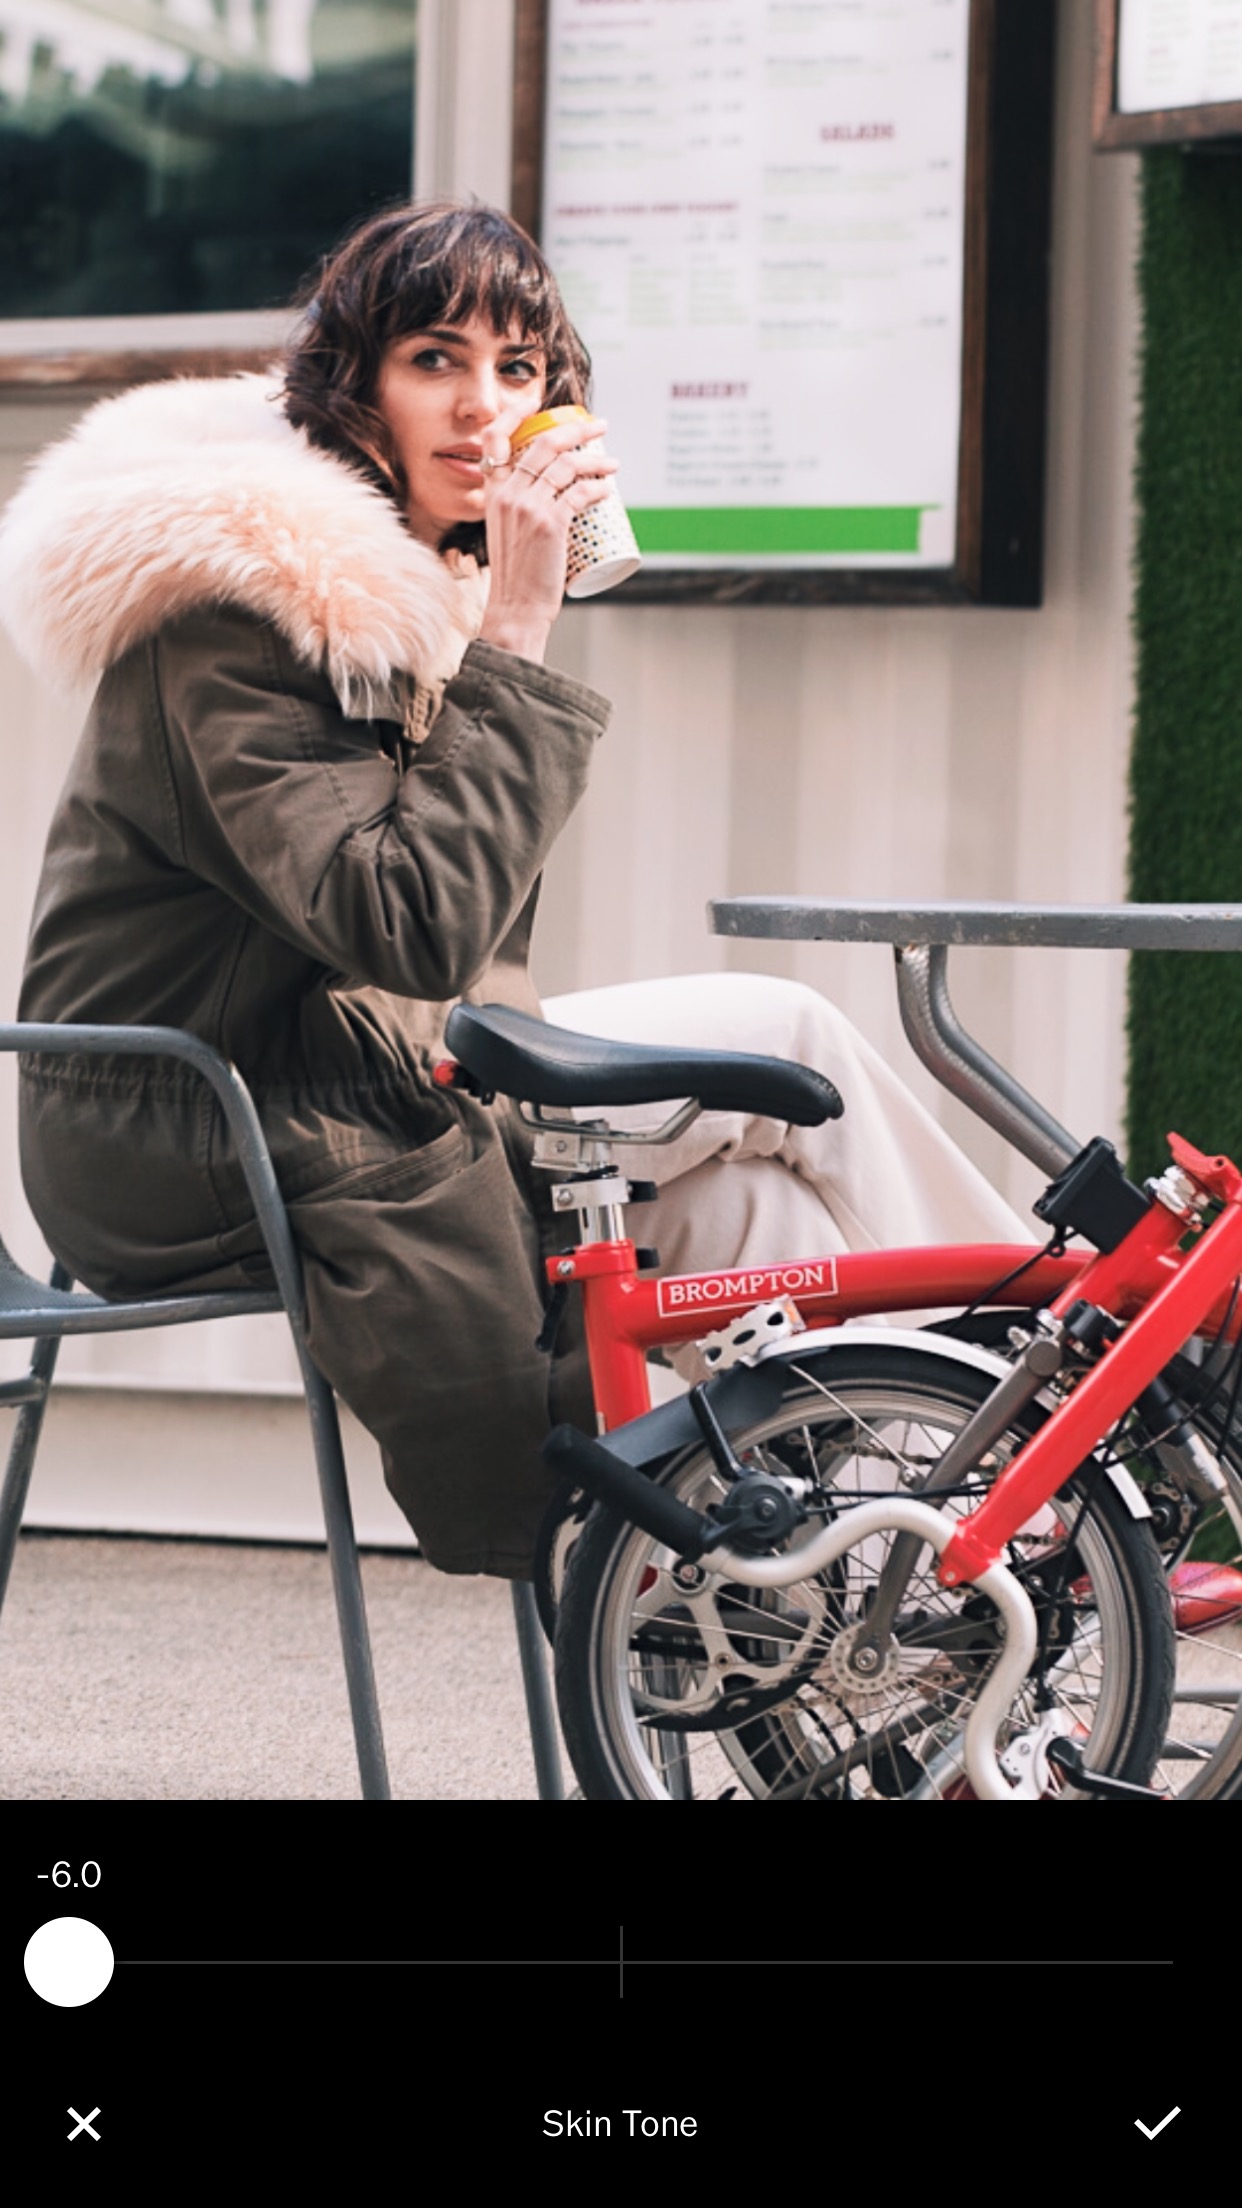
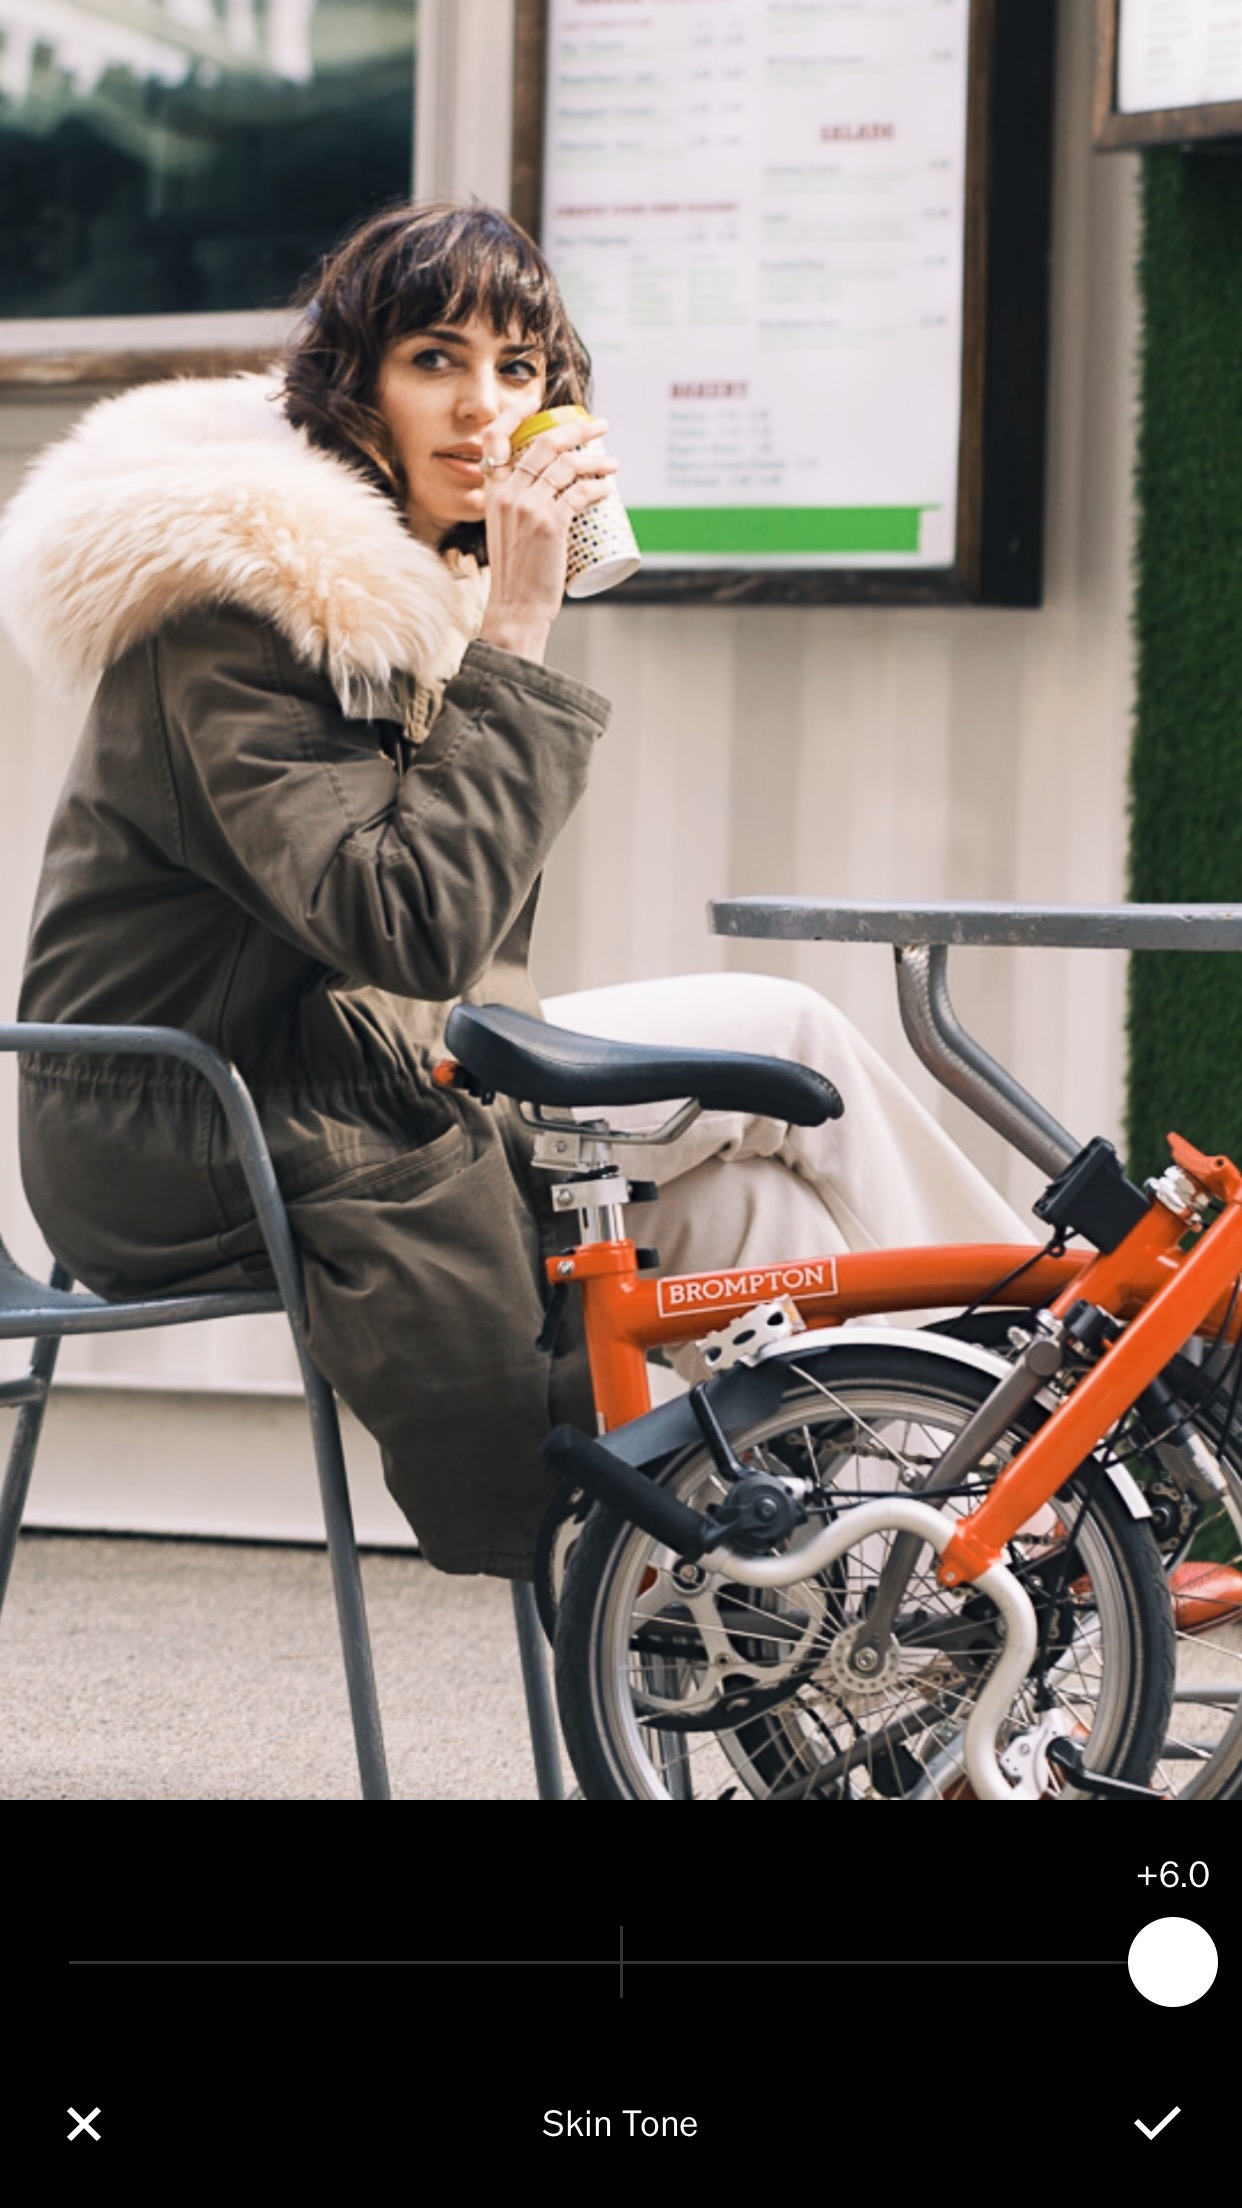
Moving the slider to the left removes green tones – perfect if your subject looks gaunt or sickly. Moving the slider to the right removes red tones – taking care of splotches, acne, or a flushed face.
The Skin Tone slider does a pretty good job of isolating skin tone, but it will also grab, shift, and smooth any other skin toned elements in your photograph. Keep a close eye on your beige and red tones when using this slider.
Lastly, try using the Skin Tone slider as a complement to the Tint and Temperature sliders. Depending on the color values in your photo, it can be a wonderfully subtle touch to give your edit a golden warmth or more intense red vibe.
VSCO Editing Tip #3: Double Up Presets
If you're not very concerned with realism and want a heavily stylized look, this tip is for you.
I recently shot Rita Ora in a fast-paced BTS shoot, expected to deliver the photos almost the moment I took them. Because I had only minutes to port them over to my phone from my Fuji X100F and tweak them in VSCO, the double preset trick helped me quickly get an Instagram-ready look.
The below grid shows the out-of-camera photo, a custom A5 process, and a final C2 process.
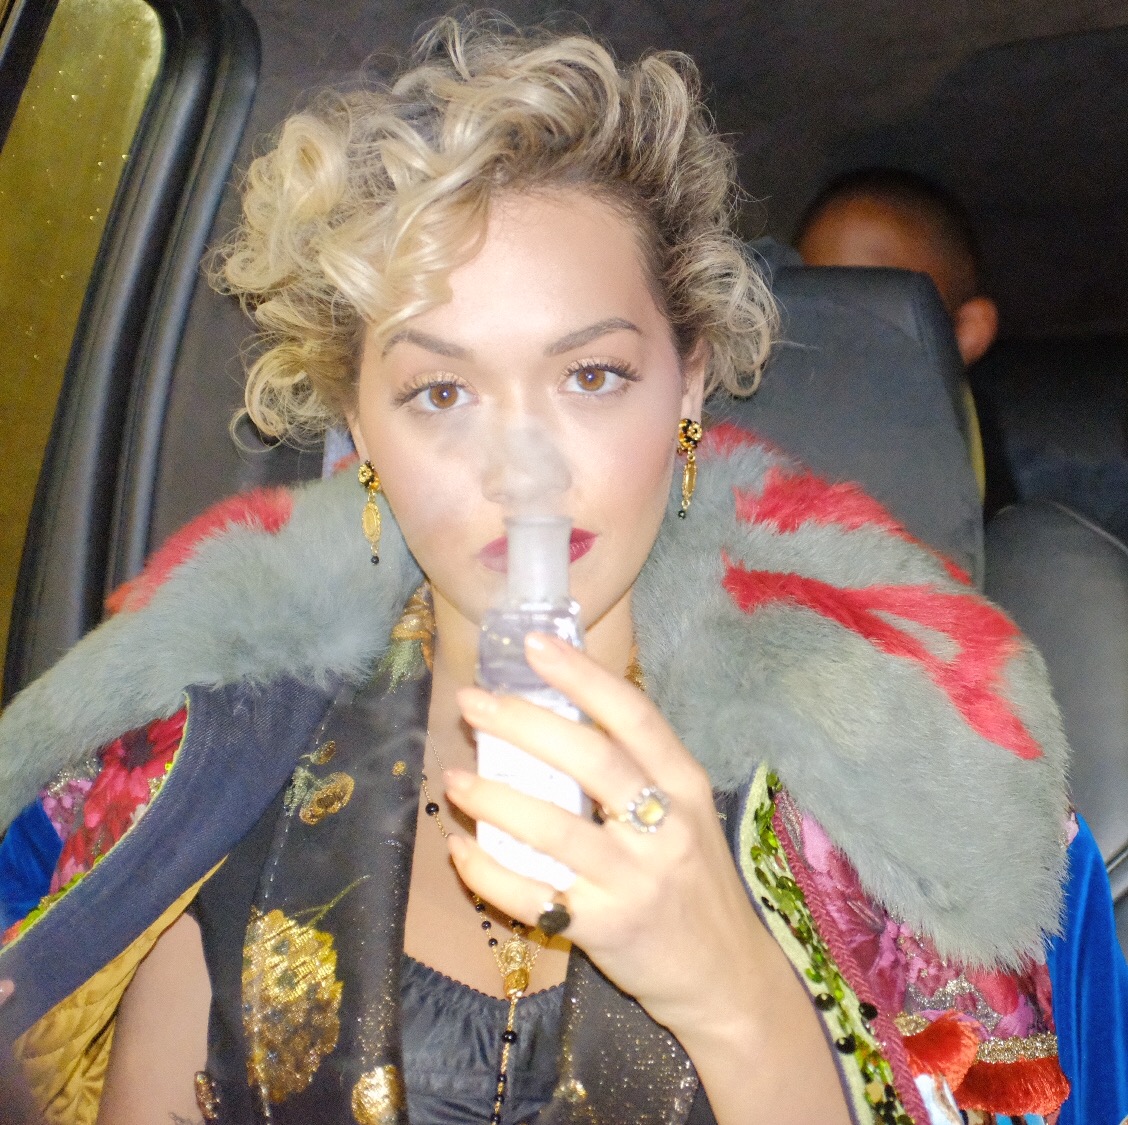
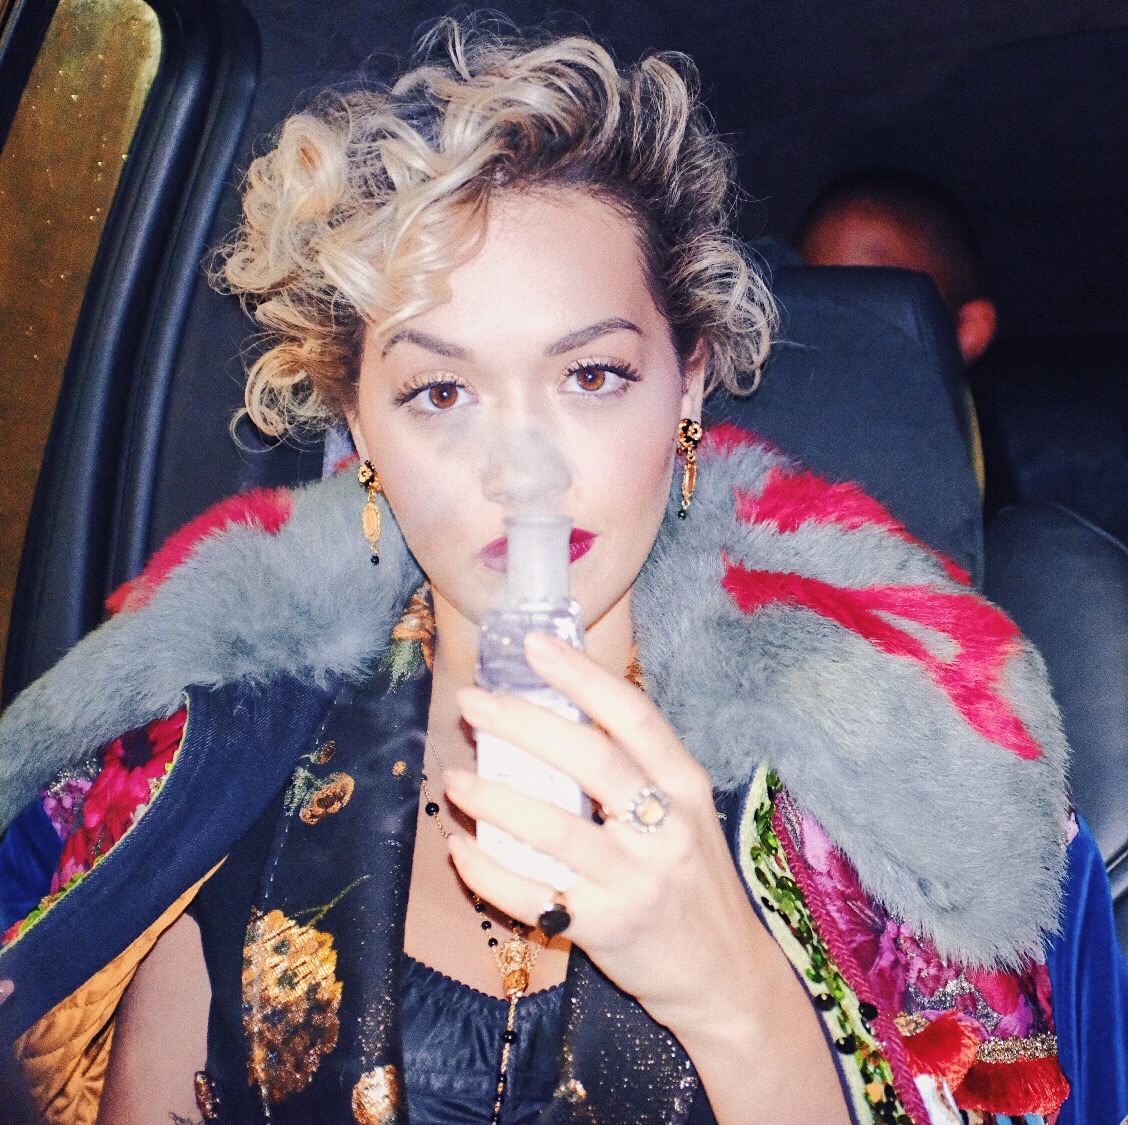
Here's my analysis of the original image:
The entire photo was far too warm and washed out.
The variance in light values in her skin aged her and took focus from her eyes and lips.
I liked her eyes and lips, and I wanted them to pop.
I wanted to play with the cool blacks of the car interior and strong saturations in the warmer colors of her skin and garment for maximum eye-catchy-ness.
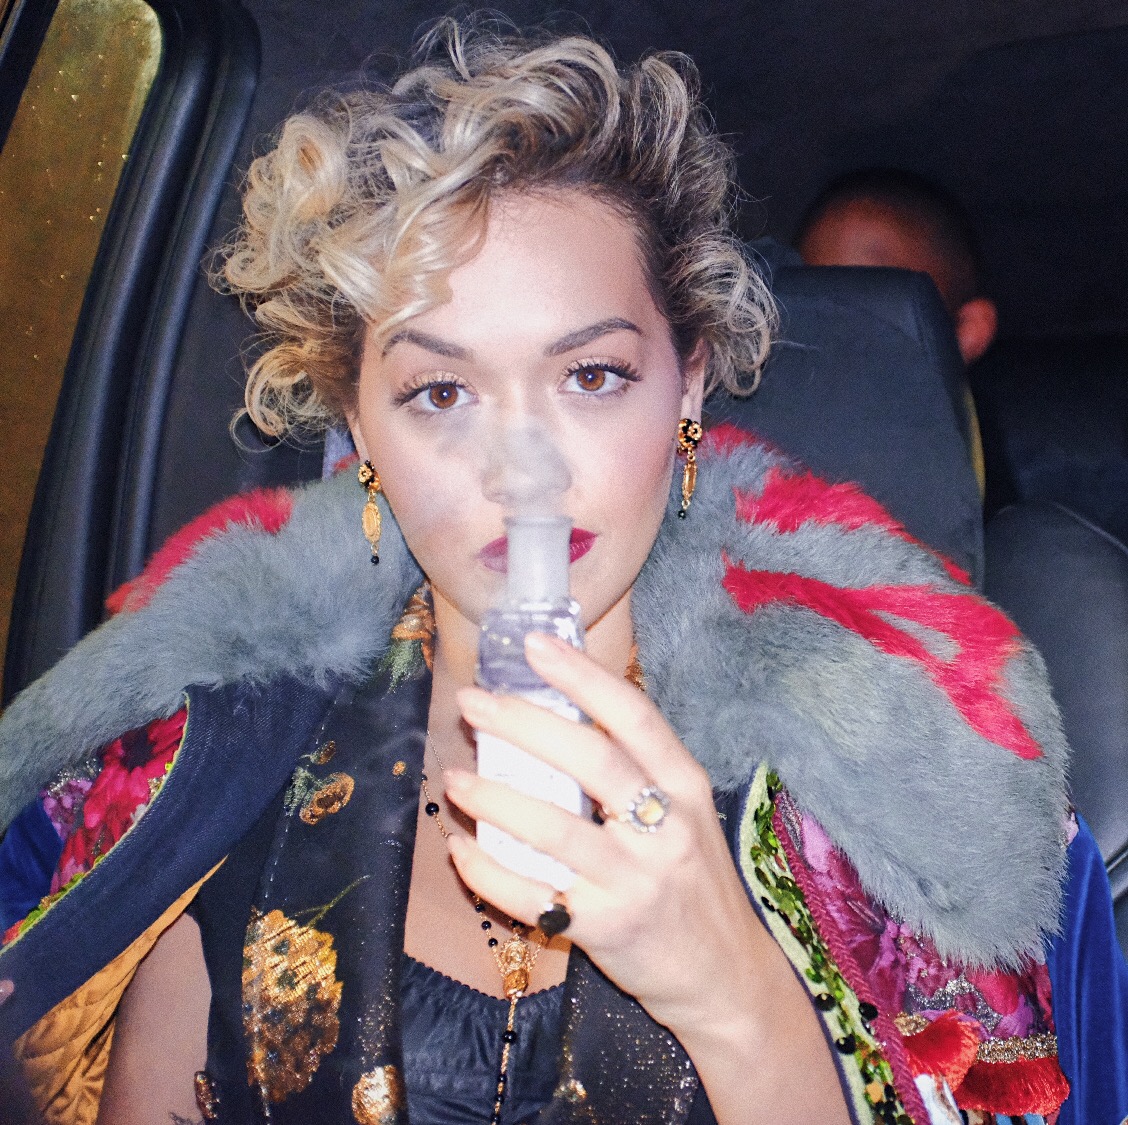
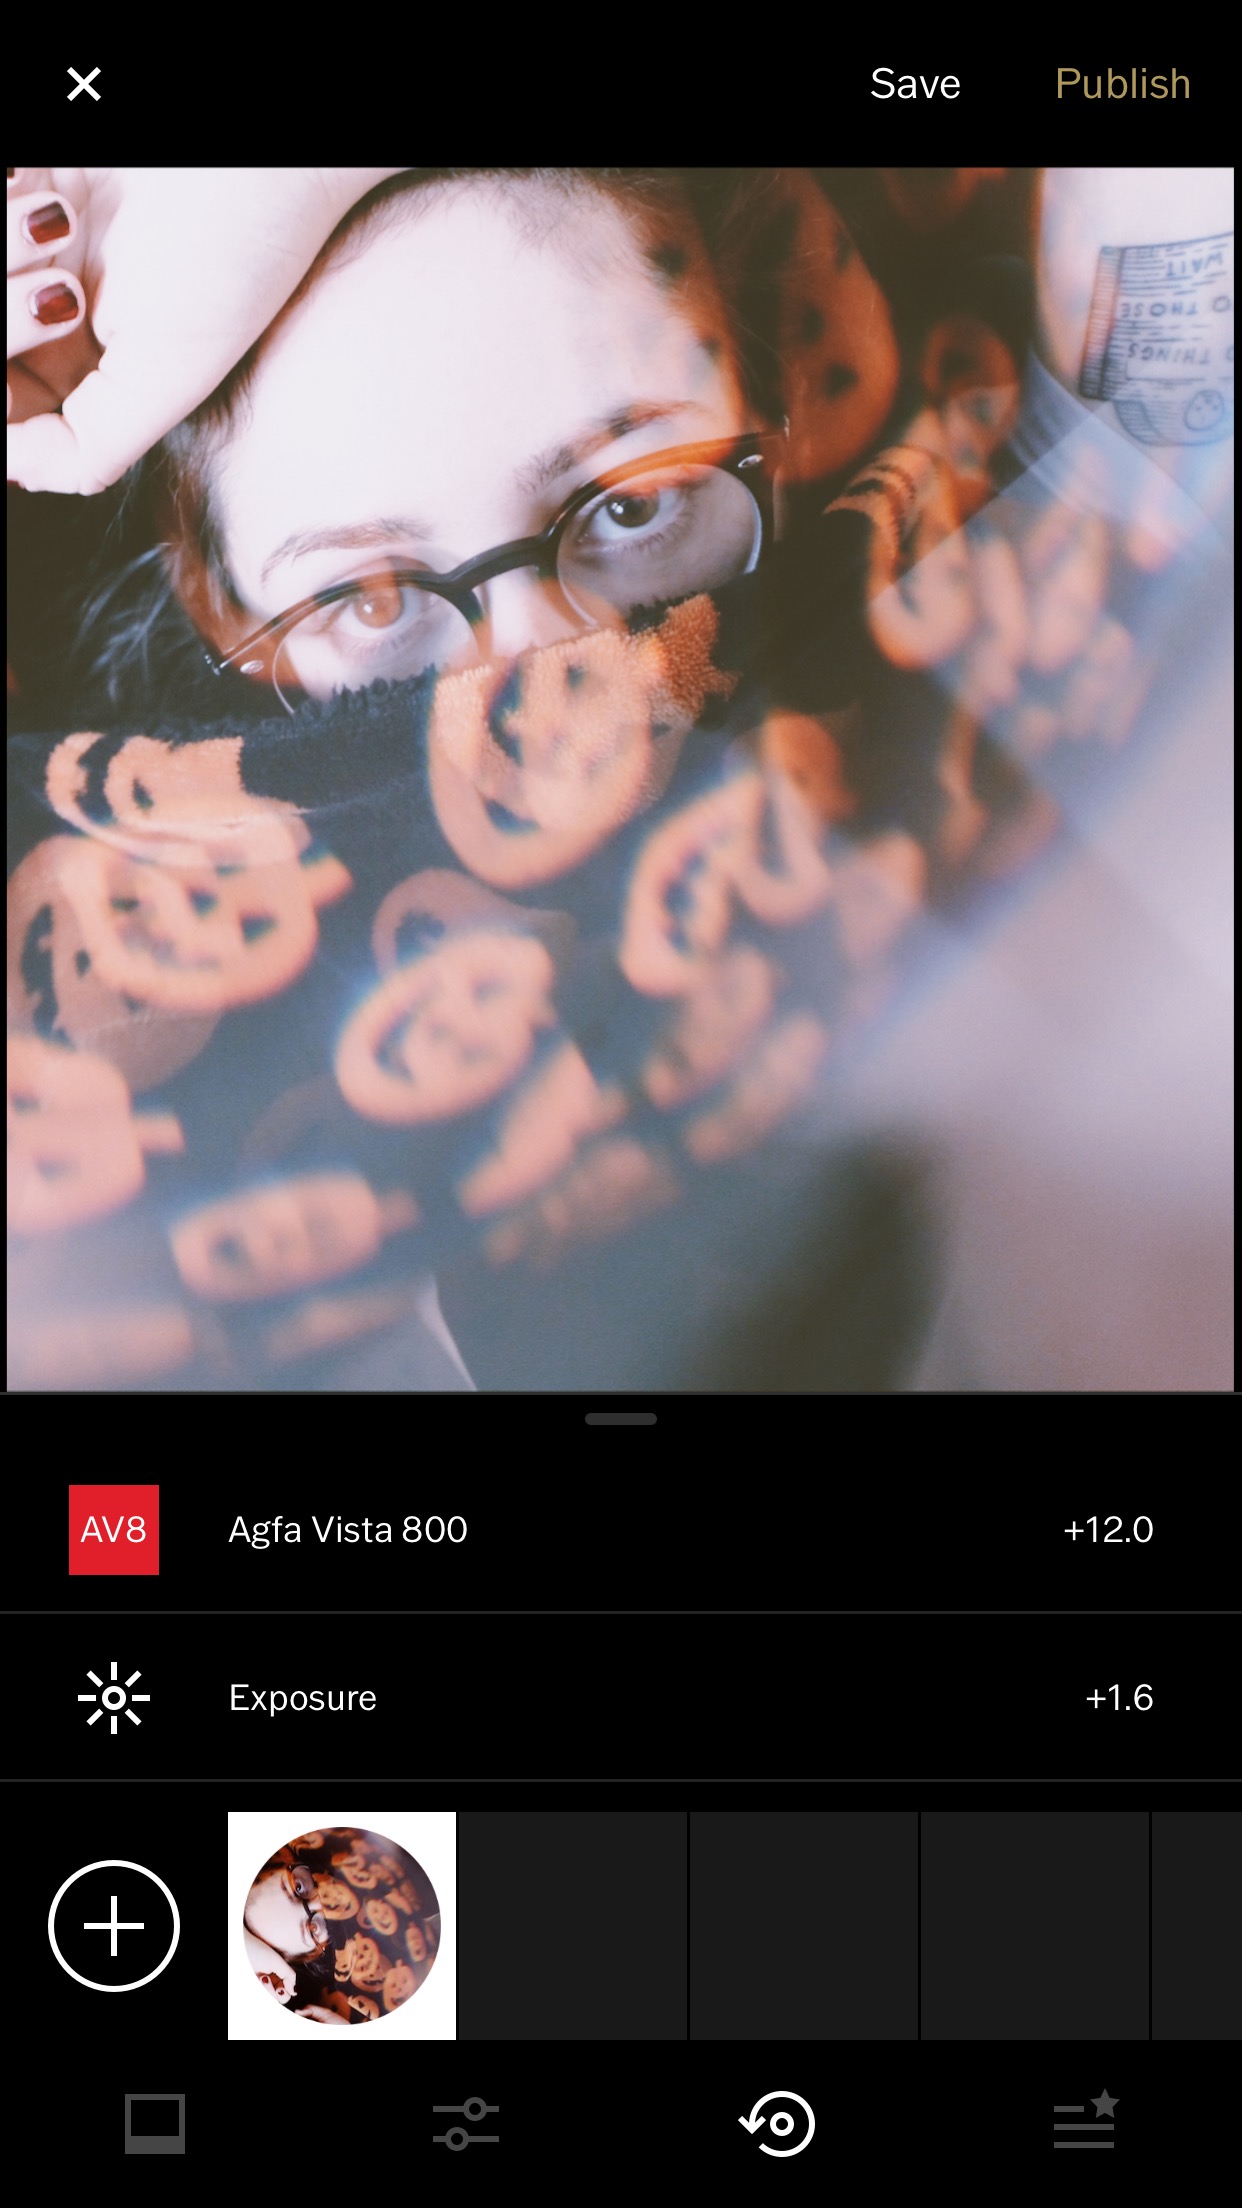
I started with with A5 to dramatically cool my very yellow photo and deepen the blacks in the shadows and midtones to get rid of the washed out look. With A5 as my base, I shifted the exposure down, the sharpening up, added more blues to my shadows, and used the HSL sliders to boost the reds and tone down the blue saturation.
While I liked the result, I actually found her skin to be a bit splotchy from the exposure adjustment. I also thought the overall color contrast could use a bit more 'pop'. The quickest way to accomplish that was to export my VSCO edit, re-import it in to VSCO, and begin a new edit, applying a complementary preset that could smooth out my skin tones and give my custom colors a more coherent look.
It's easy to go overboard with a double preset, and it's definitely fair to say that I did just that in the above example. But it's a powerful option to have in your back pocket, and using a gentle hand and complementary presets can quickly create striking and unique looks.
Some of my favorite combos include:
A5 + B2
N1 + Q5
M5 + S2
VSCO Editing Tip #4: Keeping a Consistent Feed
If you want your photos to look unique to your Instagram account, you have to craft a custom editing process in VSCO. Using your favorite VSCO preset as a base, try lowering the intensity and adjusting the HSL sliders, highlight, fade, grain, and clarity to evoke the mood you had in mind when you took the photo.
Once you've got it perfect, click the Swirl icon second from the right on the bottom toolbar and then tap the Plus button. Voila, the bundle of adjustments you just made can now be saved as a 'recipe'!
Once you have your 'recipe' perfected, you can start applying it across all of your photos (although you should be making slight tweaks every time to enhance the specifics of your image – a pop of saturation in the green for richer leaves or grass, bringing the luminosity down in the red values to darken skin tones for a burnt, summer look, etc). This process will give your feed the consistent look you see on popular Instagrammer's profiles.

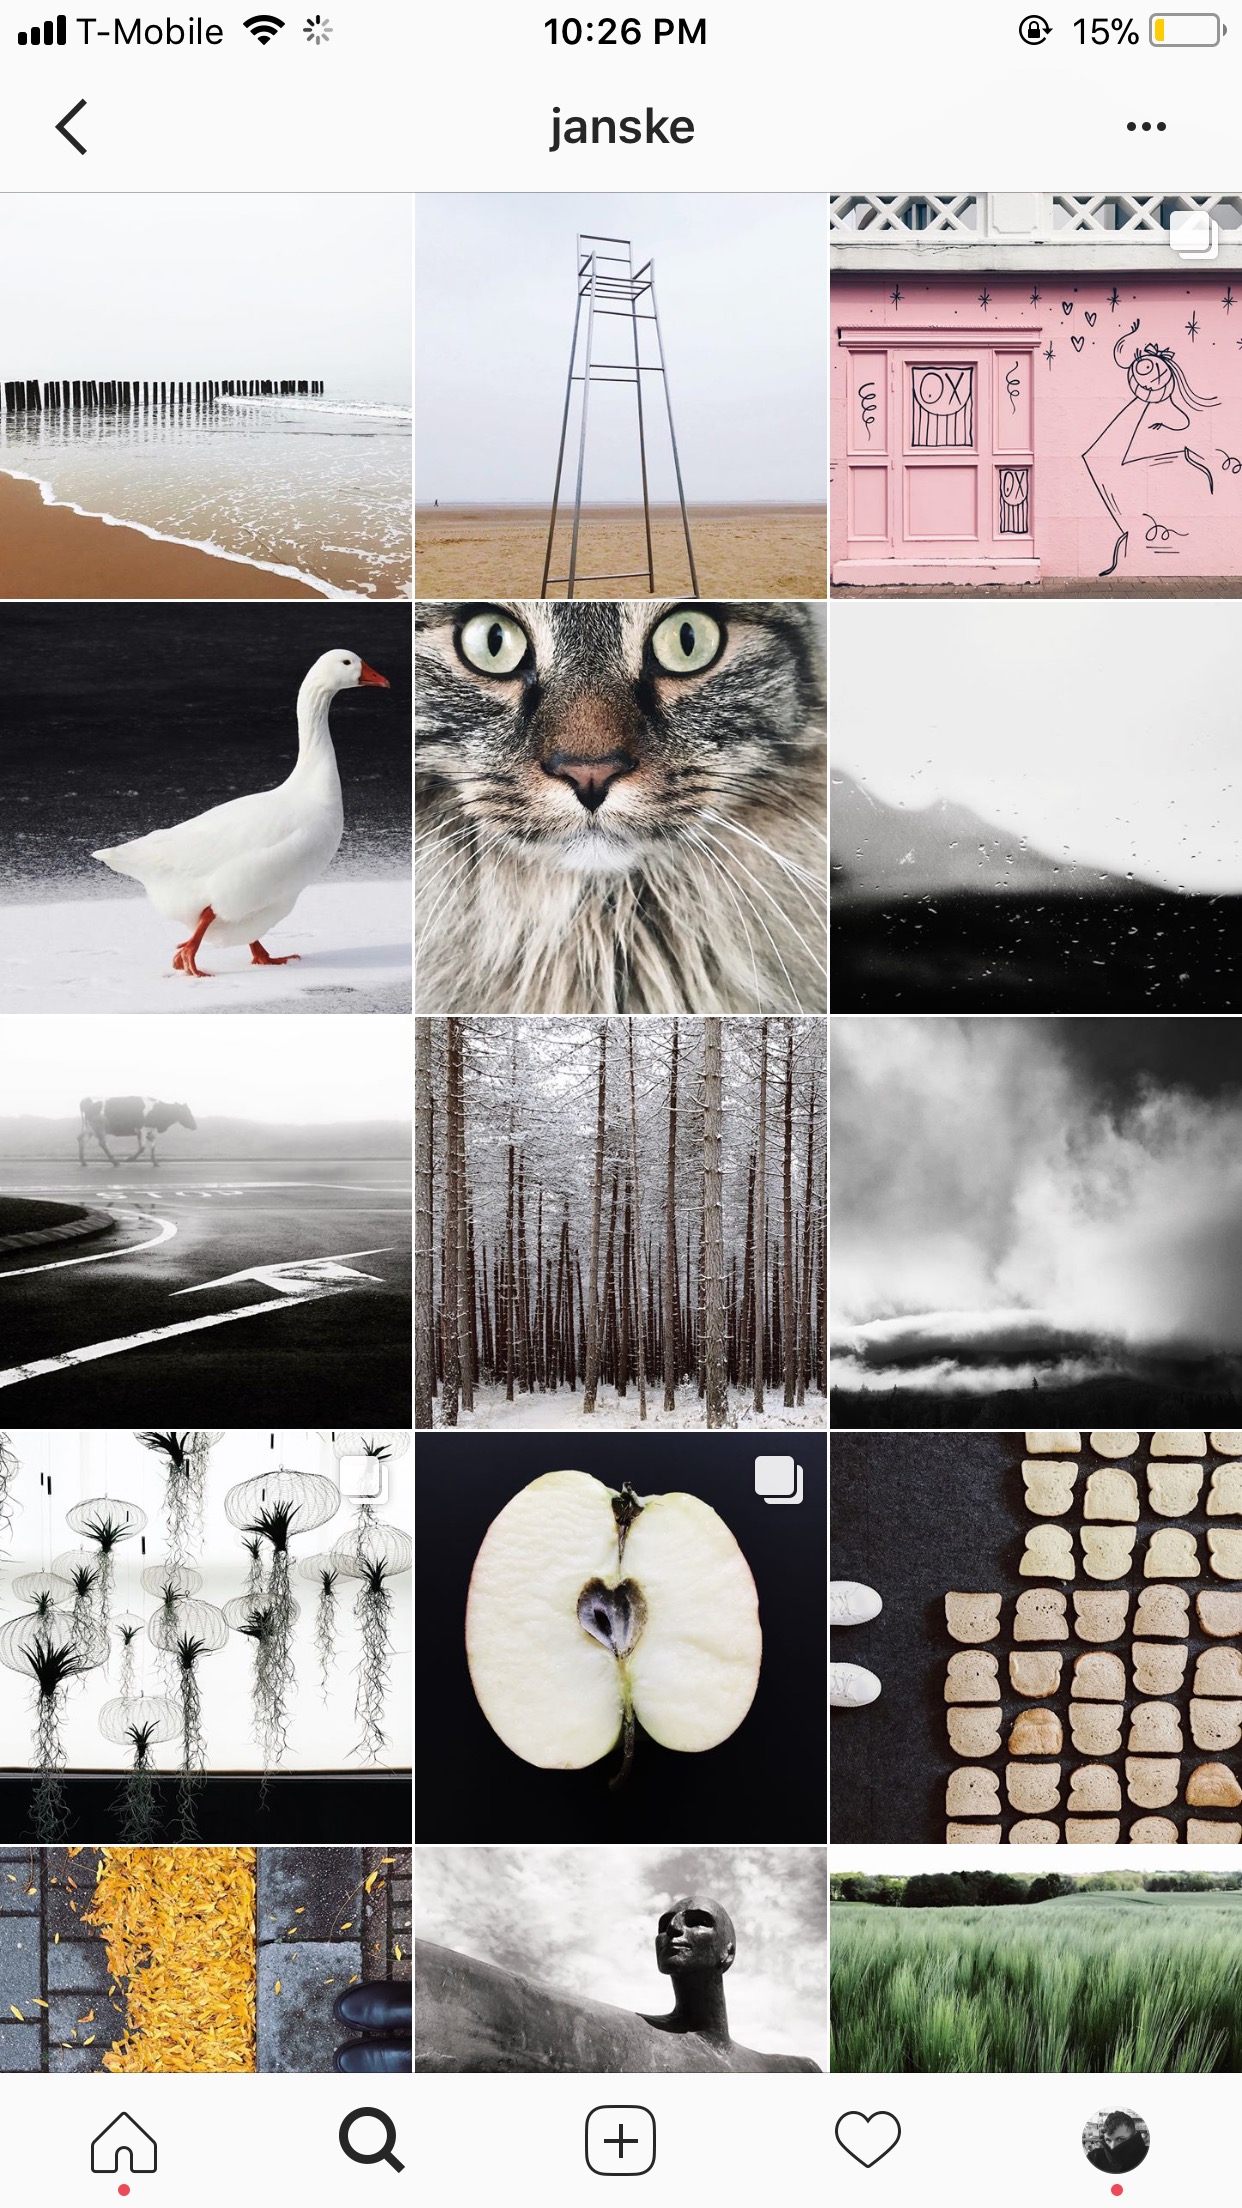
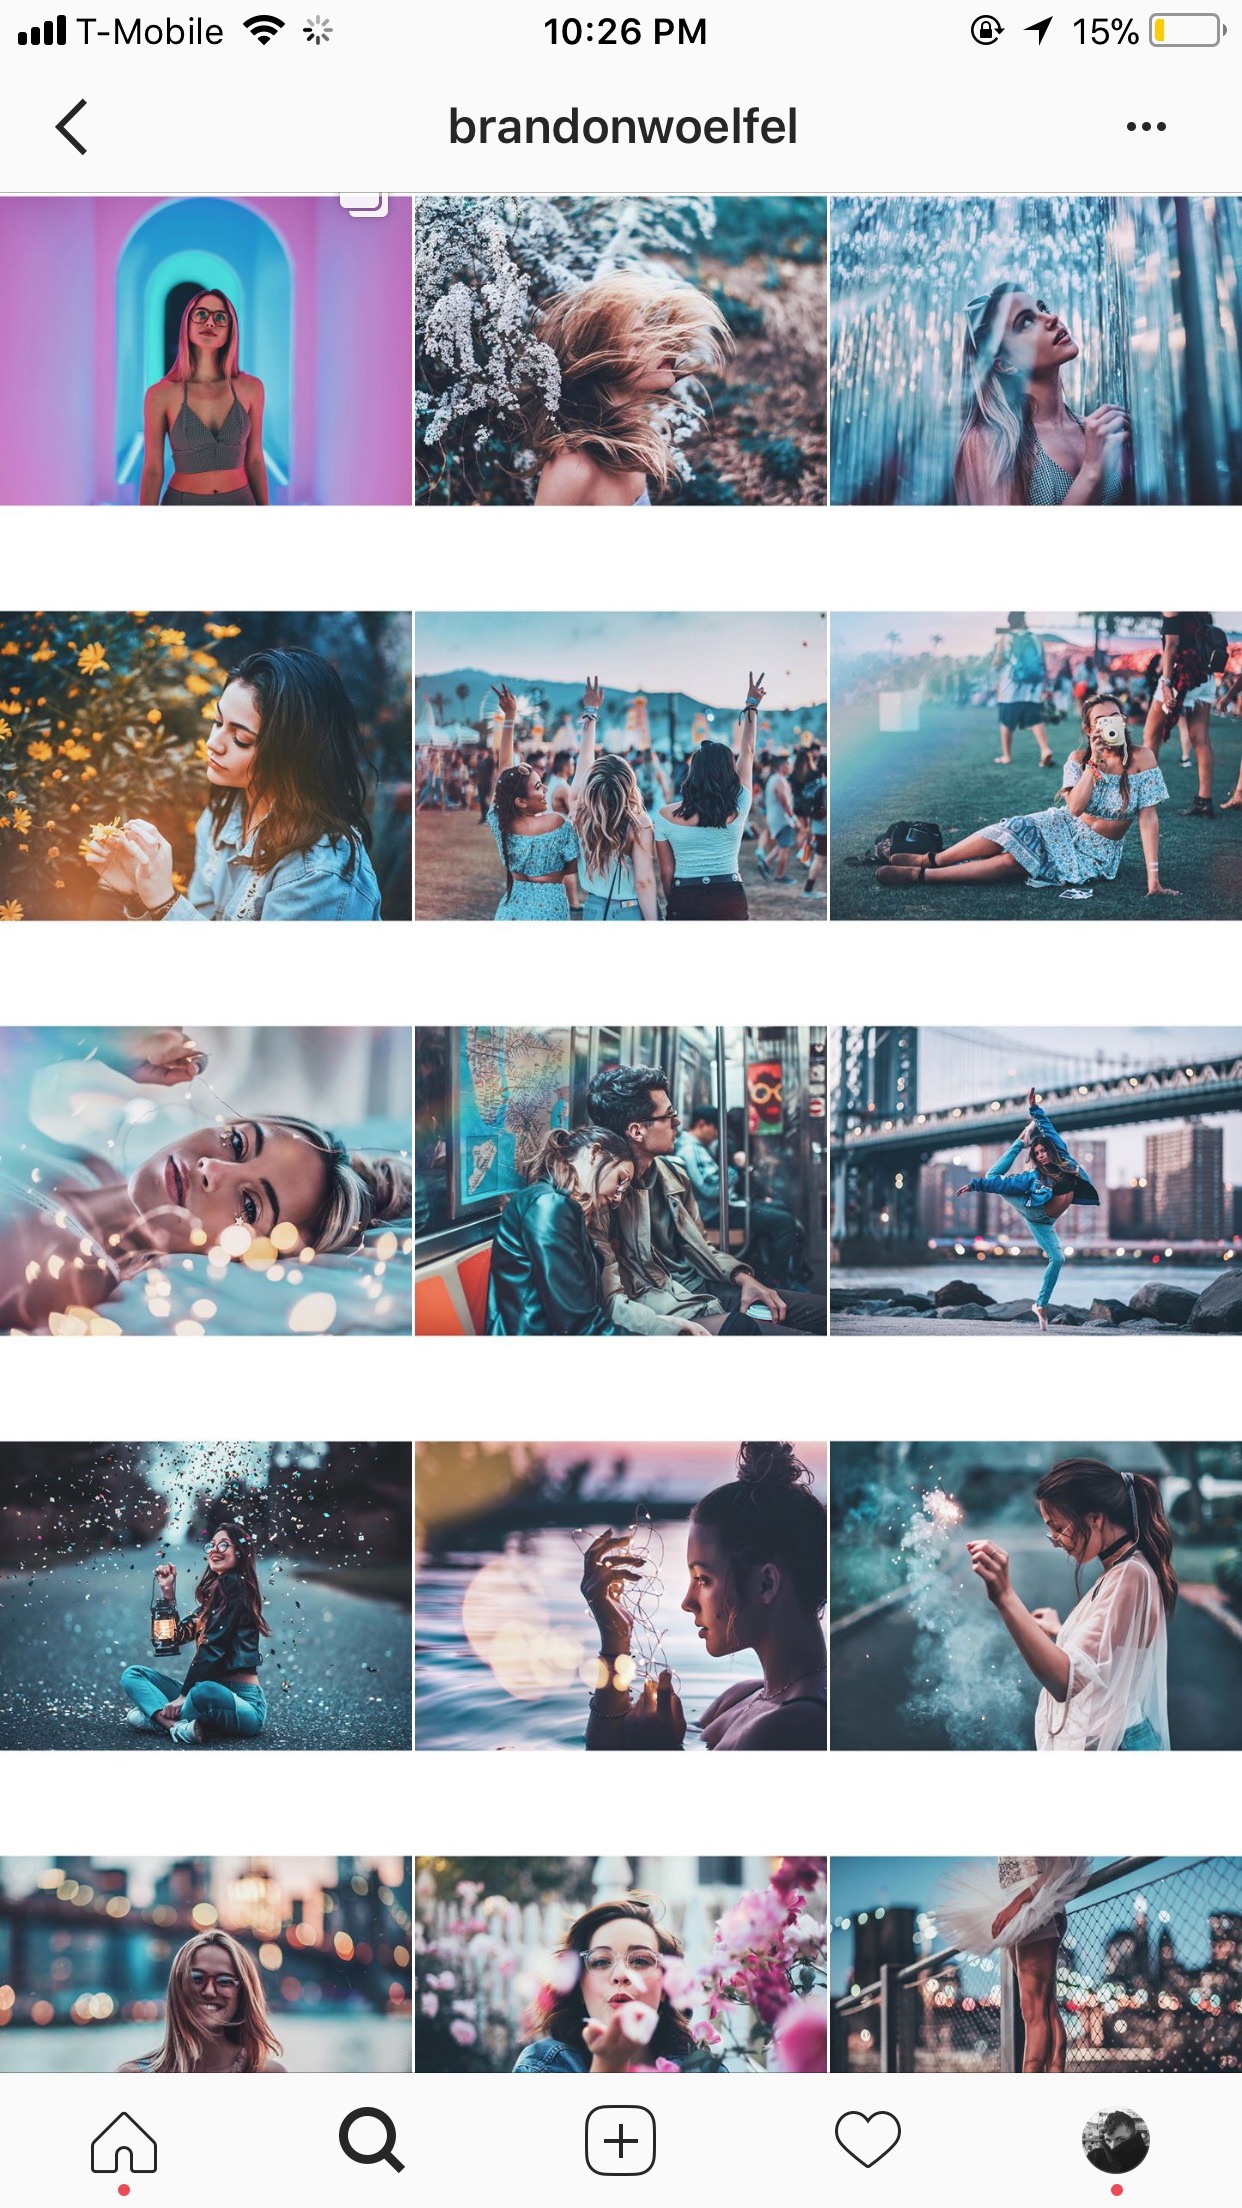
But don't get it twisted: there's no one-size-fits-all color treatment in photography. If you apply the same recipe to a high key portrait as a gritty urban street shot, you're doing your photos – and your followers – a disservice.
Challenge yourself to build out 3 separate VSCO recipes that complement what you shoot the most. For example: natural light food photography, high-contrast portraits, or architecture.
As a photographer, it's important to explore your aesthetic and carve out a visual niche for each niche of photography you share with the world. VSCO recipes will ensure your Instagram account keeps consistency no matter what you're shooting.
Which of these VSCO tips did you find most helpful? Let us know in the comments and we'll write a part two sharing some more of our mobile photography editing secrets.

